UIImage 메모리 최적화
Downsample vs preparingThumbnail(of:)
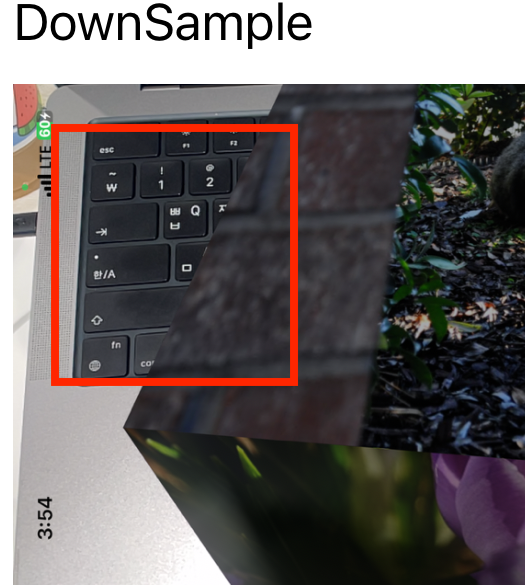
- DownSample
WWDC18 - iOS Memory Deep Dive에서 본 내용을 토대로 작성
iOS Memory Deep Dive - WWDC18 - Videos - Apple Developer
Discover how memory graphs can be used to get a close up look at what is contributing to an app's memory footprint. Understand the true...
developer.apple.com
iOS UIImage에서 이미지를 화면에 보여주는 단계

- Load: UIImag에서 JPEG, PNG에서 압축된 이미지를 가져오는 단계
- Decode: 압축된 이미지를 풀어서 스크린에 표시할 실제 이미지 정보를 메모리에 올리는 단계
- Render: Frame마다 메모리에 담긴 디코딩 된 이미지 데이터를 가져와서 화면을 그리는 단계
⇒ 사진을 담는 UIImage에 할당되는 메모리는 압축을 푼 데이터를 담기 때문에, 이미지 파일의 크기보다 더 크다.
💡 개발자는 Decode 단계에서 최소한의 메모리에 이미지 데이터를 담는 것이다. 이렇게 이미지 데이터 크기를 줄이는 방법을 WWDC에서는 색상 컬러 포맷 변경과 DownSample 두 가지 방법을 설명한다.
Color format change
컬러 이미지를 흑백 이미지로 픽셀당 할당되는 데이터 크기를 줄이는 방법이다.
사진 이미지의 색상을 바꾸는 것은 사용성에 적합하지 않음으로 생략…
DownSample
- UIImage에서 직접 이미지 크기 Resizing 하기 ⇒ 비추천 방식
- 원본 이미지를 UIImage에 Decode 단계를 거쳐서 담는 행위를 우선 해야한다.
→ 메모리 복사가 크게 일어난다.- 원본 이미지 저장을 해야하는 순간 메모리 사용이 커질 수 있다…
⚠️ NASA의 7GB 우주 사진 같은 경우는 이 방법으로 감당 할 수 없다.
- 원본 이미지 저장을 해야하는 순간 메모리 사용이 커질 수 있다…
- UIImage에서 Resizing하면 좌표 변환을 통해서 진행되는데 이는 연산 오버헤드 비용이 크다.
- 원본 이미지를 UIImage에 Decode 단계를 거쳐서 담는 행위를 우선 해야한다.
- ImageIO를 사용해서 DownSample 하기
- 원본 이미지를 디코딩하지 않고 원본의 크기와 메타데이터를 읽을 수 있다.
- ImageIO는 원하는 이미지 크기 정도만 디코딩 할 수 있다.
- 원본 이미지를 디코딩해서 메모리에 저장하지 않는다!!
ImageIO 사용하기
- ImageIO는 Core Graphics와 관련되어 있다.
- 실제 픽셀 사이즈 단위 연산을 하기 때문에 레티나 디스플레이, 기기별 디스플레이 (pt 단위)에 맞는 변환을 해야한다.
- ⇒
UIScreen.main.scale로 접근해서 원하는 이미지 크기에 맞는 해상도 최적화를 진행하자.
ImageIO 샘플 코드
import ImageIO
let filePath = “/path/to/image.jpg”
let url = NSURL(fileURLWithPath: path)
let imageSource = CGImageSourceCreateWithURL(url, nil)
let properties = CGImageSourceCopyPropertiesAtIndex(imageSource, 0, nil)
let options: [NSString: Any] = [kCGImageSourceThumbnailMaxPixelSize: 100 * UIScreen.main.scale,
    kCGImageSourceCreateThumbnailFromImageAlways: true]
let scaledImage = CGImageSourceCreateThumbnailAtIndex(imageSource, 0, options)
- func preparingThumbnail(of size: [CGSize]
🚨 Hitching 관련 WWDC에서 나타난 메서드
Make blazing fast lists and collection views - WWDC21 - Videos - Apple Developer
Build consistently smooth scrolling list and collection views: Explore the lifecycle of a cell and learn how to apply that knowledge to...
developer.apple.com
🚫 preparingForDisplay()
preparingForDisplay() | Apple Developer Documentation
Decodes an image synchronously and provides a new one for display in views and animations.
developer.apple.com
이미지를 동기적으로 디코딩하여 보기 및 애니메이션에 표시할 새 이미지를 제공합니다.
- 외부 이미지 데이터를 원본 크기로 가져올 때 사용하는 메서드이다.
- Hitching을 줄이기 위해 만든 메서드이다.
- 비동기 메서드도 존재하며, 캐싱된 데이터를 가져올 때, 빠르게 가져오도록 만들었다.
preparingThumbnail(of:) | Apple Developer Documentation
Returns a new thumbnail image at the specified size.
developer.apple.com
지정된 크기의 새 썸네일 이미지를 반환합니다.
- 이미지를 사이즈를 줄여서 디코딩을 진행해 preparingForDisplay() 보다 더 효율적으로 이미지를 가져오는 메서드이다.
- 이 메서드에서 입력하는 사이즈가 픽셀 단위인지, pt 단위인지는 설명이 없어서 아쉬웠다.
➕ 확인을 해보니 픽셀 단위의 사이즈를 말하는 것 같다..!
func collectionView(_ collectionView: UICollectionView, cellForItemAt indexPath: IndexPath) -> UICollectionViewCell {
    guard let cell = collectionView.dequeueReusableCell(withReuseIdentifier: cellIdentifier, for: indexPath) as? ItemCell else {
        fatalError("Unexpected type for cell. Check configuration.")
    }

    let item = items[indexPath.item]
    cell.nameLabel?.text = item.name
    let thumbnail = item.image.preparingThumbnail(of: thumbnailSize)
    cell.thumbnailImageView?.image = thumbnail
    return cell
}
DownSample vs PreparingThumbnail
위에 나타난 DownSample, PreparingThumbnail 모두 이미지를 메모리에서 덜 사용하기 위한 방법이다.
그럼 둘 중 어느 것이 더 좋을까? 라는 생각이 들었고 이를 실험해봤다.
⇒ 요구 사항: 최소 메모리 적재, 적절한 고화질 이미지
DownSample 이미지와 PreparingThumbnail 이미지를 jpegData(compressionQuality: 1)로 압축 시킨 후 크기를 비교한다.
DownSample 함수
extension UIImage{
    static func downSample(name:String,size: CGSize, scale: CGFloat = UIScreen.main.scale) -> UIImage {
        let path = Bundle.main.path(forResource: name, ofType: "PNG")
        let url = NSURL(fileURLWithPath: path!)
        let imageSourceOption = [kCGImageSourceShouldCache: false] as CFDictionary
        let imageSource = CGImageSourceCreateWithURL(url, imageSourceOption)!
        let maxPixel = max(size.width, size.height) * scale
        let downSampleOptions = [
            kCGImageSourceCreateThumbnailFromImageAlways: true,
            kCGImageSourceShouldCacheImmediately: true,
            kCGImageSourceCreateThumbnailWithTransform: true,
            kCGImageSourceThumbnailMaxPixelSize: maxPixel
        ] as CFDictionary

        let downSampledImage = CGImageSourceCreateThumbnailAtIndex(imageSource, 0, downSampleOptions)!

        let newImage = UIImage(cgImage: downSampledImage)
        return newImage
    }
}
⌨️ 테스트 코드
let l = UIScreen.main.bounds.width
func test(){
let image = UIImage(named: "realitykitbgimg")
Task{
let rawdata:Data = image!.pngData()!
print("rawData: \(rawdata.count)")
let sampleImage = UIImage.downSample(name: "realitykitbgimg",size: .init(width: l, height: l))
let sample:Data = sampleImage.jpegData(compressionQuality: 1)!
let byImage:UIImage = await image!.byPreparingThumbnail(ofSize: .init(width:l,height:l))!
let by:Data = byImage.jpegData(compressionQuality: 1)!
print("DownSample: \(sample.count)","PreparingThumbnail: \(by.count)")
if sample.count < by.count{
print("DownSample 압축이 더 잘 된다.")
}else if sample.count > by.count{
print("PreparingThumbnail 압축이 더 잘 된다")
}
}
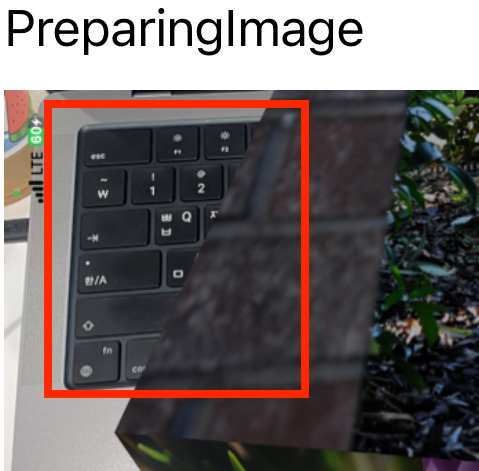
}실험 결과
- 이미지 데이터 용량

- 시뮬레이션 이미지
- 이미지 너비

💡 스크린 스케일에 맞추어서 PreparingImage를 적용하면 어떻게 될까? + DownSample 진행 후 PreparingImage를 적용하면 어떻게 될까?
2차 실험
- 이미지 데이터 용량

- 이미지 시뮬레이션
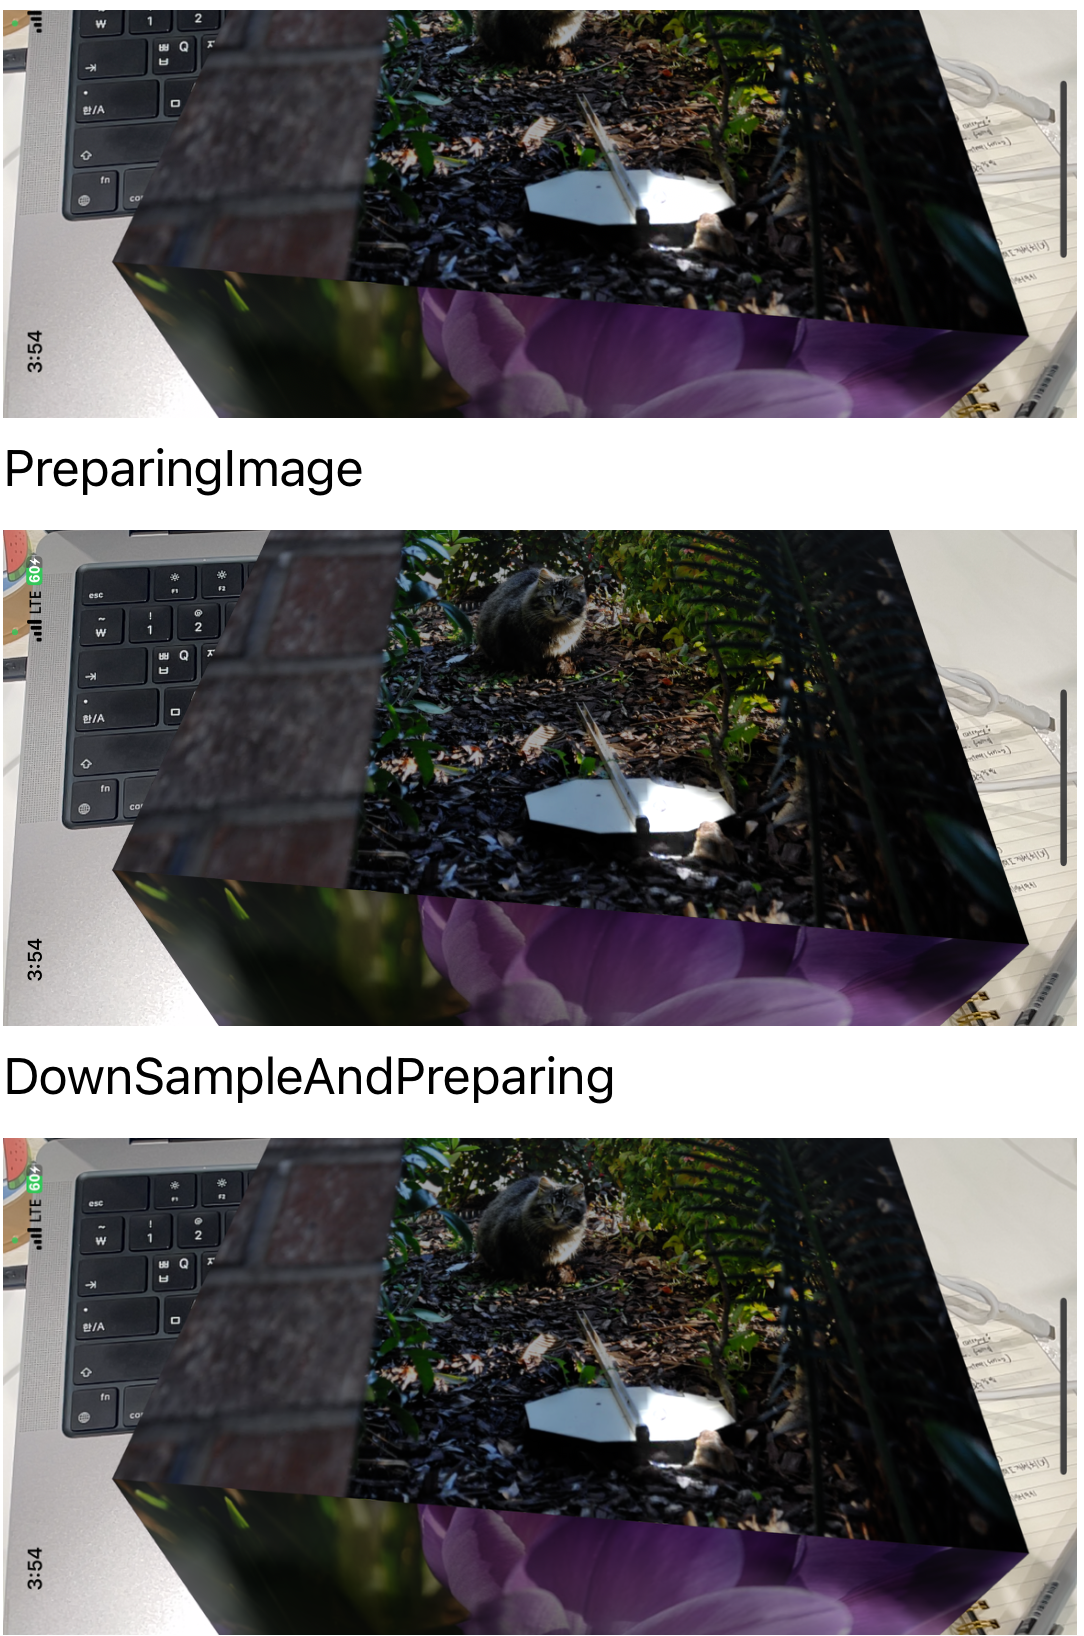
- 이미지 너비DownSample은 입력한 사이즈 보다 더 적은 크기로 줄여줄 수 있어 사이즈를 더 적게 할당 할 수 있다.

결론
- 이미지 용량을 줄이는데는
DownSample이 더 효과적이다. - 이미지를 가져오는데 필요한 연산의 오버헤드를 줄이기 위해서는
preparing메서드를 사용하는 것이 더 좋다. ⇒ 비동기 메서드를 지원하기 때문
NASA의 7GB 이미지를 가져오려면 어떻게 해야할까?
- 프로젝트 Asset 내부에서 이미지를 가져오는 경우
- 이미지를 가져오면서
downSample을 진행해 원하는 크기 최적화를 진행한다. - 이미지 캐시에 DownSample한 이미지를 넣는다.
- 캐시에서 preparing을 사용해서 오버헤드가 적게 이미지를 사용한다.
- 이미지를 가져오면서
- 네트워크를 통해 가져오는 경우
- 네트워크를 통해 가져온다면 .
preparingThumbnail을 통해서 비동기로 이미지를 가져온다. - 이미지
downScale을 통해서 원하는 크기의 이미지 최적화를 진행한다.
- 네트워크를 통해 가져온다면 .
- 캐시를 사용하는 경우
- 캐시에 이미지를 가져와 담을 경우
downSample을 이용한다. - 이미지를 캐시에서 빼서 사용할 경우
preparingThumbnail을 사용해 Hitching을 피한다.
- 캐시에 이미지를 가져와 담을 경우